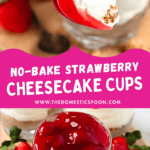
No Bake Cheesecake Cups
These No-Bake Cheesecake Cups are creamy, simple, and irresistibly delicious. They are the perfect individual dessert when you need something easy, elegant, and guaranteed to impress.

I’m all about desserts that are easy to prepare and bursting with flavor (hello No-Bake Lemon Cheesecake, Orange Dreamsicle Salad or Kool Aid Pie)!
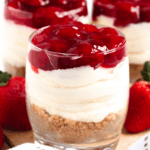
If you’re looking for a simple, make-ahead dessert that feels special without turning on the oven, these no bake cheesecake cups are exactly what you need. Made with a buttery graham cracker crust, light and fluffy cheesecake filling, and a perfectly sweet strawberry topping, this strawberry cheesecake cups recipe is perfect for parties, showers, holidays, or an easy family dessert.
Served in jars, small cups or even cupcake liners, these individual cheesecake desserts are easy to portion, easy to transport, and always a crowd favorite.
A few weeks ago, I tested this recipe a few different times in a few different ways. I love cheesecake and I wanted to make sure that my no bake cheesecake cups were perfect, including a smooth filling, delicious graham cracker crust, and, above all, easy!
That night, Matt and I went out to a fancy restaurant that we have been dying to go to in Charlotte for years. It was restaurant week, and we finally got the opportunity to do a tasting menu there. One of the dessert options was cheesecake, so we got it! And dare I say…. I liked this cheesecake better?!
These cheesecake cups have a very pure flavor, a perfectly buttery crust, and just the right amount of filling on top. They are easy to make, and you don’t have to go to restaurant week at a fancy rooftop restaurant to get them!
My Party Trick

This is a great make ahead recipe! Prepare these cheesecake cups the night before and refrigerate overnight for quick and easy serving. The extra time in the refrigerator helps them set up perfectly. Serve them with different topping options, including strawberry pie filling, blueberry pie filling, and any other options that sound delicious. Bonus points for putting fresh fruit out on the table, too!
Why Make These No Bake Cheesecake Cups
- No Oven Required: This is a true no bake cheesecake recipe, making it perfect for warm weather, busy days, or anytime you want a stress-free dessert.
- Light, Creamy, and Perfectly Sweet: Folding freshly whipped cream into the cream cheese creates a fluffy, mousse-like texture that’s lighter than traditional baked cheesecake but still rich and satisfying.
- Perfect for Parties: These individual cheesecake cups can be made several hours ahead of time, which makes them ideal for entertaining, potlucks, and special occasions.
Key Ingredients for Cheesecake Cups
Here is a visual overview of the ingredients in the recipe. Scroll down to the recipe at the bottom for quantities.
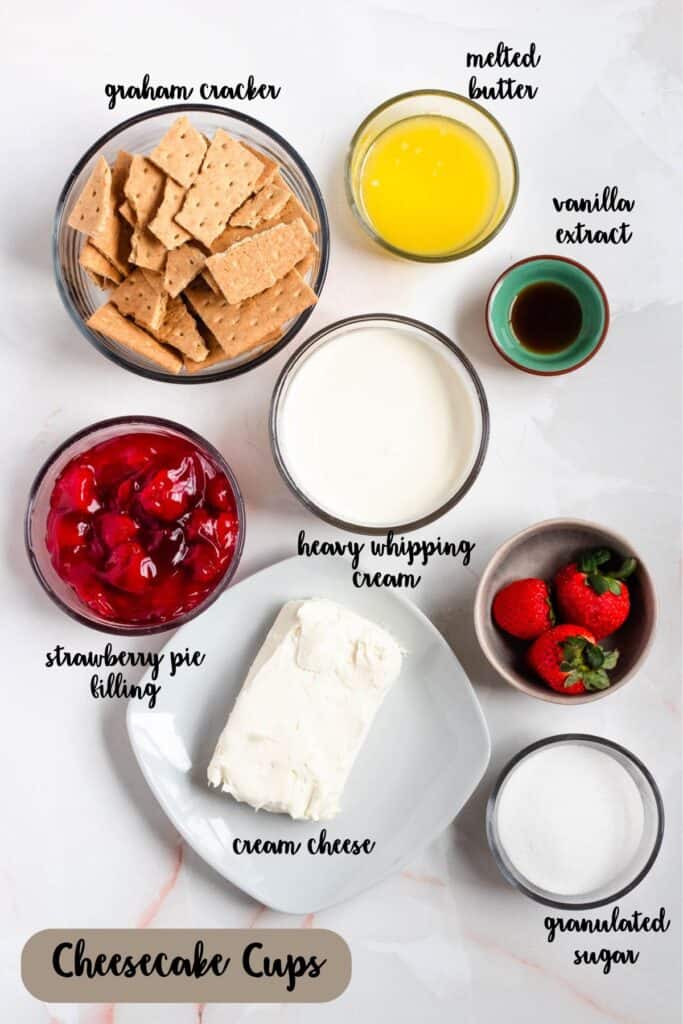
- Unsalted butter: Butter gives your crust the perfect buttery flavor and helps hold those graham crackers crumbs together.
- Graham cracker crumbs: I tried making graham cracker crumbs in a bullet blender first, but that didn’t work. A food processor or putting them in a bag and using a rolling pin will give you better results. You could also use biscoff crumbs or crushed oreos (I’d recommend golden!).
- Cream cheese: Allow your cream cheese to come to room temperature for easy mixing. I don’t recommend using reduced fat as it isn’t as solid as full fat.
- Heavy whipping cream: Heavy whipping cream gives your cheesecake a mousse-like texture. You could also use a pre-made whipped cream like cool whip, but it will have a sweeter taste.
- Strawberry pie filling: Use whatever brand you prefer. You can also make your own jam to use as a topping. You can also use a different fruit topping like cherry or blueberry.
How to Make Cheesecake Cups

Step One: Use a food processor to crush your graham crackers into crumbs.

Step Two: Add the butter and mix until fully combined.

Step Three: Press your graham cracker crust into the bottom of your cups.

Step Four: Whip the heavy cream to stiff peaks and set aside.
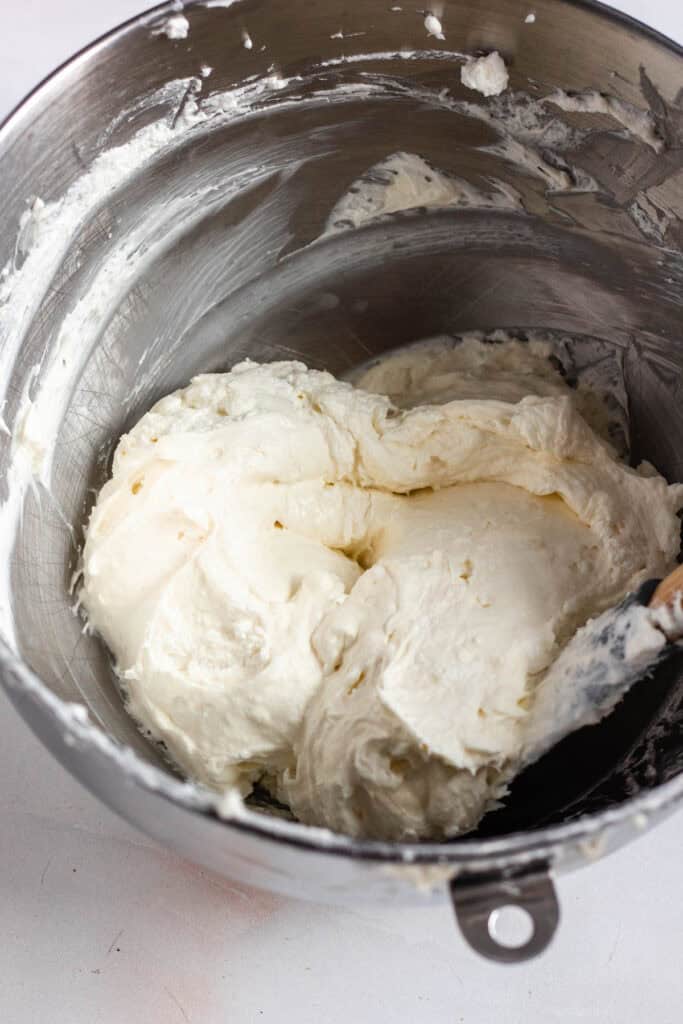
Step Five: Beat the softened cream cheese until smooth and lump-free, then hand mix in the whipped cream.

Step Six: Spoon or pipe the cheesecake filling over the crusts and allow them to chill in the fridge.
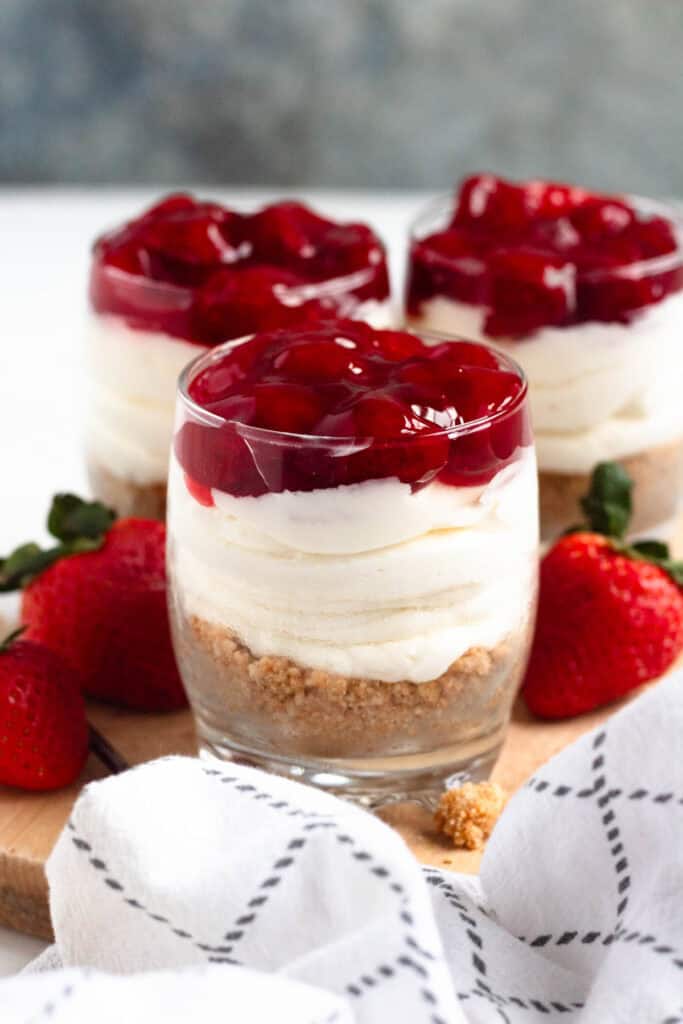
Step Steven: Spoon strawberry pie filling over each cup. Serve and enjoy!
Expert Tips
- It’s a good idea to make room in your refrigerator before you get started! These cups need to chill.
- Use fully softened cream cheese to avoid lumps and create a smooth, creamy filling.
- It’s important to whip the cream to stiff peaks so the cheesecake filling holds its shape and sets properly. Be sure your whipped cream is cold before you begin! If your whipped cream doesn’t hold its shape, keep whipping.
- Fold the whipped cream in gently using a spatula to keep the filling light and airy.
- Press the crust firmly into the cups so it holds together when serving.
- Chill for at least 2 hours before topping to give your cream cheese a chance to firm up–otherwise your topping may fall into the cheesecake rather than stay on top!
- You can fill your cups with the cheesecake filling by spooning it in but I think the cups turn out much prettier when I pipe in the filling using a piping bag and frosting tip.
- Don’t be tempted to chill these in a freezer. Freezer temperatures will cool the edges much faster than the center, leaving you with a potentially squishy center.
Recipe FAQs

These cheesecake cups should chill for at least 2 hours, but 4 hours is even better for a firmer, more set texture.
Yes! These strawberry cheesecake cups can be made up to 24 hours in advance. Add the strawberry pie filling just before serving for the freshest look.
Cover and store the cheesecake cups in the refrigerator for up to 5 days.
If you find that the crust is a bit too crumbly for your liking there are a couple tricks to try to set it up better next time.
The first is to simply press it harder into the bottom of your dish.
The second is to try baking your crust for just five minutes. That short baking time gives the butter a better chance of bonding to the crumbs and helps them hold together better.
You can definitely use a muffin tin and cupcake liners to prepare these cheesecake cups if you don’t have individual jars to use. As long as you enjoy them cold, they should peel away from the cupcake liners just fine! You can also just put them in a regular drinking glass, though the filling will be a bit deeper.
Did you enjoy this recipe for cheesecake cups? If so, check out these other recipes I’ve chosen just for you:
If you tried this No Bake Cheesecake Cups Recipe or any other recipe on my website, please leave a 🌟 star rating and let me know how it went in the 📝 comments below!
Cheesecake Cups
Equipment
- Food Processor
Ingredients
- 5 Tbsp unsalted butter, melted
- 1 cup graham cracker crumbs, about 12 graham crackers or biscoff crumbs
- 8 oz cream cheese, softened
- ½ cup granulated sugar
- 1 tsp vanilla extract
- 1 cup heavy whipping cream
- 1 cup strawberry pie filling
Instructions
- In a medium bowl, stir together 1 cup graham cracker crumbs and melted 5 Tbsp unsalted butter.
- Divide the mixture evenly between jars or cups and press firmly into the bottom. I made 4 large servings in 8 oz cups but you can also make 8 small servings in 4 oz cups. Set aside.
- In a medium bowl, whip 1 cup heavy whipping cream to stiff peaks. Set aside.
- In a separate large bowl, beat the softened 8 oz cream cheese until smooth and lump-free.
- Add ½ cup granulated sugar and 1 tsp vanilla extract and beat again until fully combined and creamy.
- Use a rubber spatula to gently fold the whipped cream into the cream cheese mixture in two additions.
- Spoon or pipe the cheesecake filling over the crusts, and smooth out the tops.
- Refrigerate for at least 2 hours until set, then spoon strawberry pie filling over each cup. Serve and enjoy!
Video
Notes
- Graham cracker crumbs: You could also use biscoff crumbs or crushed oreos (I’d recommend golden!).
- Cream cheese: I don’t recommend using reduced fat as it isn’t as solid as full fat.
- Heavy whipping cream: You could also use a pre-made whipped cream like cool whip, but it will have a sweeter taste.
- Strawberry pie filling: Use whatever brand you prefer. You can also make your own jam to use as a topping. You can also use a different fruit topping like cherry or blueberry.
- It’s a good idea to make room in your refrigerator before you get started! These cups need to chill.
- Use fully softened cream cheese to avoid lumps and create a smooth, creamy filling.
- It’s important to whip the cream to stiff peaks so the cheesecake filling holds its shape and sets properly. Be sure your whipped cream is cold before you begin! If your whipped cream doesn’t hold its shape, keep whipping.
- Fold the whipped cream in gently using a spatula to keep the filling light and airy.
- Press the crust firmly into the cups so it holds together when serving.
- Chill for at least 2 hours before topping to give your cream cheese a chance to firm up–otherwise your topping may fall into the cheesecake rather than stay on top!
- You can fill your cups with the cheesecake filling by spooning it in but I think the cups turn out much prettier when I pipe in the filling using a piping bag and frosting tip.
- Don’t be tempted to chill these in a freezer. Freezer temperatures will cool the edges much faster than the center, leaving you with a potentially squishy center.